One of the advantages of WordPress is its customization potential. With an ever-growing number of plugins available, you have the opportunity to build the website of your dreams. However, having so many options to choose from can make it hard to pick your site’s best fit.
Fortunately, there are ways to narrow down your decision. By prioritizing your specific needs and learning how to evaluate a tool’s quality, you can find solid plugins to optimize your site.
In this article, we’ll introduce you to WordPress plugins. We’ll also take you through four easy steps to pick the perfect candidates for your page. Then we’ll wrap up by giving you some potential plugins to consider. Let’s get to it!
An Introduction to WordPress Plugins
A WordPress plugin is a third-party program that adds functionality to your site. While themes can adjust the look and feel of a page, plugins provide the actual features. They can thus have a sizable impact on the visitor’s experience.
Given that plugins tend to be specialized, they enable you to curate a full-site experience with several different programs. For example, let’s say you want to set up a secure online store with ease. You might use the Jetpack plugin for security, WooCommerce for the store, and Elementor to build and customize the storefront.
Plugins can also affect your back-end experience. For example, you may find that you prefer tools with a user-friendly focus. The sheer amount of software available means that you’re likely to find one that suits your needs.
Nevertheless, you can have too much of a good thing. Using plugins in excess can slow your website down. As such, you’ll want to consider your choices carefully to help maximize performance while minimizing potential issues.
A methodical approach can also help you find the highest-quality candidates, especially if you’re searching in a popular category and need to compare tools. Doing a small amount of research can make it easier for you to pick the right plugins on the first try.
Related: How to Pick the Right WordPress Theme for Your Website
How to Pick the Right Plugins for Your WordPress Website (In 4 Steps)
A little bit of structure can help expedite the selection process. Below are four easy steps that you can follow to pick the right plugins for your WordPress website.
Step 1: Identify Your Plugin Requirements
The first step is to decide what you need from a plugin. While this may seem obvious, assessing your exact needs can be surprisingly helpful. After you’ve created a list of features you’d like, you can also try prioritizing them. This can help you focus on finding a plugin that matches your primary requirements.
Many plugins have multiple uses. These tools can be time-savers, especially if you have several related needs. However, you may want to consider mixing and matching plugins, as this flexible outlook can expand your options.
It’s also important to understand that some plugins come at a cost. A premium plugin typically offers benefits such as extra features or priority support. Therefore, you may want to decide what functionality you’d be willing to pay for. If you’re on a tight budget, though, don’t stress. You’ll likely be able to find a free plugin (or a combination of similar plugins) that’ll help you achieve your goals even if you miss out on some of the premium features.
If you’re unfamiliar with WordPress extensions as a whole, we recommend browsing a few popular WordPress plugins to get an idea of what’s available.
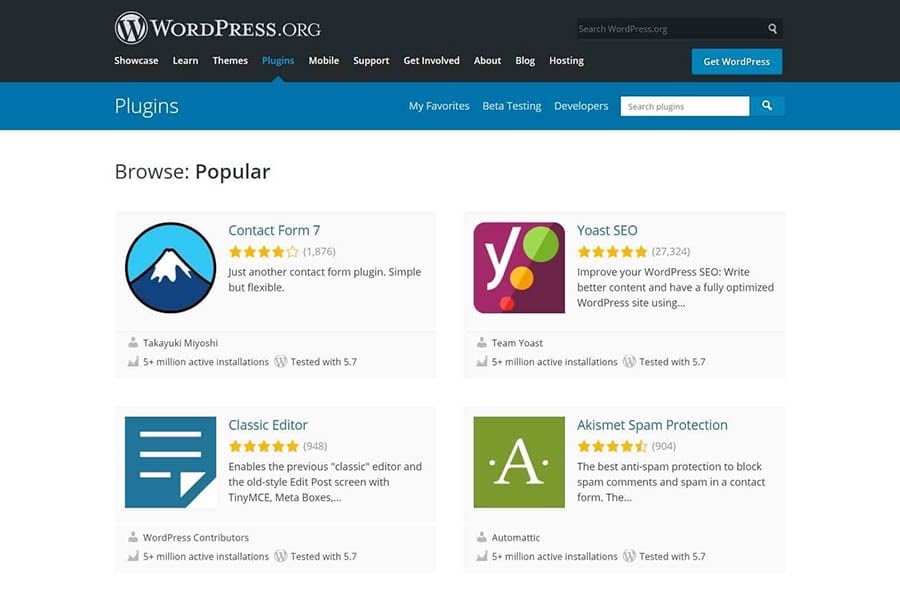
With so many options, it can be easy to get turned around. We recommend keeping your particular needs in mind throughout the process to help you focus on your key features and establish some structure for your search.
Step 2: Search for a Plugin
After you’ve laid out your must-have features, you can start the process of searching for a plugin. Many developers offer downloads from their official sites. However, if you’re looking for a more centralized marketplace, it’s hard to go wrong with the WordPress Plugin Directory.
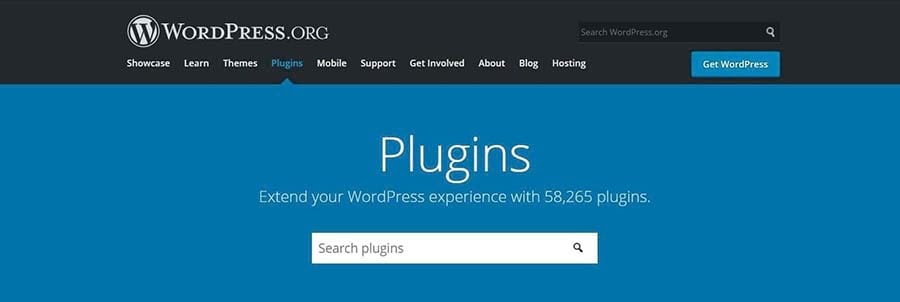
The WordPress Plugin Directory is the official place to find WordPress-approved software. Staff members check each submission for quality and security, so you’re likely to find a wide variety of top-notch programs.
As we mentioned earlier, some premium plugins require payment. However, you may also encounter tools that offer a free version alongside their premium options. Jetpack is an example of this “freemium” model.

You might also come across free versions of premium plugins through unofficial channels. While these may seem appealing, we recommend avoiding them at all costs. They are often stolen versions that can put your site at risk for malware.
To ensure that your search circumvents pirated material, you stick to reputable websites. You might also want to steer clear of any scenarios that seem “too good to be true,” as these are often illegitimate products designed to trick users.
Once you’ve decided on a place to search for your plugin, you can start actively looking for a tool. Don’t be afraid to spend some time shopping around and exploring your options. After you’ve found a plugin that catches your eye, you can proceed to the next step.
We Make WordPress Easier
Our automatic updates and strong security defenses take server management off your hands so you can focus on what really matters: growing your website.

Step 3: Review Information About the Plugin
Next, you can focus on a single plugin. There are a variety of factors you’ll want to consider at this stage. In the WordPress Plugin Directory, most of the important information is accessible by scrolling down on the plugin’s page.

Using WooCommerce as an example, let’s start with ratings and reviews. You can find this section on the right-hand side.

WordPress ratings work on a star system, with one being the lowest and five being the highest. You can also access reviews by clicking on See all. These often include more specific information regarding the program. It’s important to peruse both positive and negative reviews for a balanced picture.
Next up, consider a plugin’s active installations and update schedule. This section is located directly above the ratings.
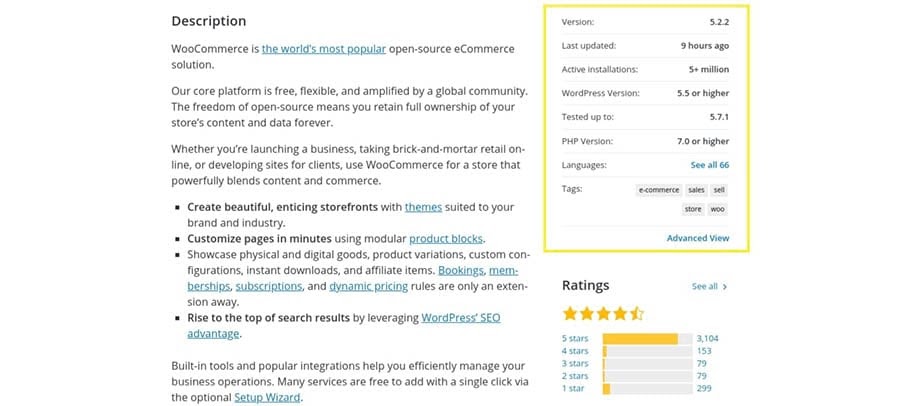
Last updated displays the most recent update, a crucial part of site security for any program. A large number of Active installations can also indicate a high-quality plugin. You can even check to see if the plugin is compatible with your version of WordPress to avoid breaking your site.
Let’s move on to the Support section, typically located under the ratings.

A high number of resolved issues is a positive sign, as it indicates that the developers are responsive. Reading through some support questions can also give you an idea of potential challenges you may face when using the software.
Finally, there’s plenty of other information on this page that might be helpful. For instance, scrolling down to the section marked Screenshots can show you the User Interface (UI). You might also want to check the FAQ section to learn more about common issues.
We recommend focusing on the factors that you find most important. Then you can use that personalized metric to easily compare different plugins. After you’ve narrowed your choice down to one tool, you can move on to the last step.
Related: WordPress Installation Tutorial — Learn How to Set up the CMS
Step 4: Download and Test the Plugin
Finally, you can download the plugin and test it on your site. We encourage you to consult a plugin’s installation instructions before downloading it because they may contain important information to help you avoid software-specific issues.
Once you’ve checked any instructions, you can navigate to your WordPress dashboard. Select Plugins > Add New from the right-hand menu. Next, enter the name of the plugin you want to install in the Search plugins box. Here’s the WooCommerce result as an example.

Click on the Install Now button to start the process. After it’s done, the button will change colors and read as Activate.

You must activate the plugin to use it on your site. Click it as soon as you’re ready to move on. Similar to installation instructions, some tools may come with an introductory message or setup tips. You may want to read these over in case they contain useful information.
After you’ve set up the plugin, you can start testing its performance. An important issue is how it impacts your site’s speed. To test this, we recommend using a tool such as GTmetrix.

Before you activate the plugin, we recommend testing your site’s baseline speed. You can write the results down and re-test once the plugin is up and running. If the plugin has a considerably negative effect on your speed, you may want to reconsider using it.
There are other ways that you can test a plugin. For instance, you may want to send a basic question to support to see how responsive the developers are. Alternatively, you might use a staging site to determine usability and front-end functionality.
Related: 13 WordPress SEO Tips to Help You Rank Higher
WordPress Plugins to Consider for Your Site
Armed with the above four steps, you’re ready to find the perfect plugin. However, perhaps you’re still unsure where to begin. If that’s the case, we’ve put together some recommendations for you to kickstart your search.
If you’re setting up your first site, you may be seeking the essentials. It’s hard to go wrong with plugins that help you improve Search Engine Optimization (SEO) or site security. Even seasoned WordPress professionals make frequent use of such tools.
Alternatively, maybe you’re a content creator. If you’re launching a podcast website, for example, you probably have different needs than the average blogger. In that scenario, it’s important to consider specialty plugins that are designed with your niche in mind.
Finally, you might be curious about ways to improve your workflow. Plenty of developers have answered the call, providing plugins to help you work more efficiently and communicate without friction. This kind of technology can be especially helpful if you’re working with a team.
There are countless quality plugins to explore. Applying our four-step method and prioritizing your needs can help you discover the ones that will fit your site the best. Our team has also put together several guides to help you find great add-ons for your WordPress site.
- 10 of the Most Popular WordPress Plugins
- Maximize Lead Generation with these 15 Plugins for WordPress
- Need a WordPress Security Plugin? 13 Ways to Keep Your Site Safe
- The Ecommerce Plugin You Need to Start an Online Store in 1 Hour
- Premium WordPress Plugins to Manage Events and Registration
Once you’ve found the right plugin, be sure to check out our WordPress plugin installation tutorial to learn how to set it up in your WordPress dashboard.
Take Your WordPress Website to the Next Level
Whether you need help selecting a caching plugin, adding a contact form, or installing a premium theme, we can help! Subscribe to our monthly newsletter so you never miss an article.

The WordPress Plugin Directory Awaits
WordPress’ flexibility is wonderful. However, too many options can overwhelm you and make deciding difficult. Fortunately, you can find a well-fitting plugin by approaching the search systematically and focusing on your site’s needs.
In this article, we covered four steps to help you pick the right plugins for your WordPress website:
- Identify and prioritize what you need from a plugin.
- Search for your options in legitimate, quality marketplaces.
- Review the available information on each plugin’s page.
- Download the software and test it against your expectations.
Even with the perfect plugins, putting together a website can be tough. Let us do the heavy lifting with our DreamPress managed WordPress hosting!
The post How to Pick the Right Plugins for Your WordPress Website (In 4 Steps) appeared first on Website Guides, Tips & Knowledge.
source https://www.dreamhost.com/blog/how-to-pick-wordpress-plugins/


No comments:
Post a Comment