Monday, 14 November 2022

How to Use GitHub for WordPress Development

If you’ve spent much time reading up on WordPress, chances are you’ve heard about GitHub. It’s one of the most popular platforms for developers to host their projects and collaborate with others. Maybe you’ve even considered trying it out yourself but don’t know where to start.

The time has come to familiarize yourself with this invaluable WordPress resource. GitHub is an excellent platform for tracking, managing, and collaborating on development projects, so it’s well worth learning how to use. It enables you to host projects online and use the powerful version control of Git to keep track of every change.

An Introduction to GitHub

GitHub may look overwhelming if you’re a newcomer, but at its core, it’s actually pretty simple. In essence, GitHub is a free hosting service specifically designed for developers. Its primary use is to host projects for sharing and collaboration, making them available so that other users can contribute to and download them:

The Github WordPress repository

As the name implies, GitHub is built around the functionality of Git. This is a version control system that tracks all changes made to a project. What makes this system so powerful is how comprehensive it is. Since Git keeps track of every file and change in your project, it enables you to revert quickly to any previous version.

Git also lets developers create ‘branches’, which are copies of a project that you can work on independently. Creating branches gives you the opportunity to make and test changes without affecting the whole project. You can then ‘merge’ your changes into the main branch if you want or simply discard them.

These features are key to understanding why Git and GitHub are so invaluable to developers. You don’t have to worry about causing irreparable damage to a project, for example, since you can always create branches and roll back all revisions.

Plus, it’s easy to collaborate on a project with a potentially unlimited number of users. In fact, this is exactly how WordPress itself is developed these days.

Getting Started with GitHub

Before you can start using GitHub, you’ll need a system for using Git and GitHub together. First of all, you’ll need to download and install Git on your local machine. You’ll be using it to perform crucial GitHub related-tasks, such as transferring files between your computer and your GitHub repository.

GitHub is only the host for the project, so all the actual development happens on your local machine. Git then uses ‘repositories’ to store each project.

This might sound confusing, in theory, so let’s look at a typical workflow:

    1. You have a project hosted in a repository on GitHub.
    2. You create a local repository and use Git to ‘pull’ in the latest version of the project from GitHub.
    3. You can now work on the project on your local computer. When you have made changes, you can ‘push’ them back into the GitHub repository.

How you decide to structure your specific workflow depends on your preferences and the project’s requirements. The important thing is that your process works smoothly for you, your project, and your collaborators.

Finally, to get the most out of Git, you’ll want to use the command line. Git is most commonly used through Secure Shell (SSH), which features a command line interface. If you don’t already know how to use the command line, we recommend that you familiarize yourself with the process before getting started.

How to Use GitHub for WordPress Development (In 7 Steps)

Now, it’s time for you to try out GitHub development for yourself! In this example, you’ll be creating a GitHub project for developing a WordPress theme. We’ll show you how to create a GitHub account and two repositories before showing you how to transfer your theme back and forth between them.

Step 1: Create a Local WordPress Environment

When you’re developing WordPress, it’s important to always use a staging environment. This gives you the freedom to try new things without worrying about how they will affect your live site.

In this case, you’re going to create a local staging environment by installing WordPress on your computer. You can do this in a few different ways, but we recommend using Local, which enables you to quickly create a local version of WordPress for free:

The Local homepage

Simply select your platform and download the free version of Local. Then you’ll just need to run the installer.

The installer will take a moment to work. After it’s completed, you can create and configure a new local WordPress site, following the instructions in this guide.

Step 2: Install Git on Your Local Machine

It’s now time to install Git. If you are running a recent version of Mac OS, you might find that Git is already on your machine. You can check this by opening your command line interface, such as Terminal, and entering the following command:

git --version

If Git is installed, this function will return its version number. If not, you will instead be asked if you want to install it right away. You can also download the installer and run it manually for Mac, Linux, and Windows computers.

If you’re not comfortable with the command line interface, you might want to consider downloading a Git GUI application instead. However, for this example, we’re going to use the standard command line method. Either way, once Git is installed, you’re ready to create a local repository.

Get Content Delivered Straight to Your Inbox

Subscribe to our blog and receive great content just like this delivered straight to your inbox.

Step 3: Create a Local Repository for Your Project

You can now create a local Git repository for your project. In this example, we’ll use the Twenty Twenty-One theme, which should already be included in your local WordPress installation.

First, you’ll need to access the theme’s folder using the following command:

cd /Users/you/Documents/Websites/website/wp-content/themes/twentytwentyone

Make sure to change this file path so that it leads to the right directory by replacing you and website with the correct folder names. You can now initialize this directory as a repository with the following command:

git init

Next, you’ll need to add your files to the index. This process tells Git which files you have added or edited since the last time you performed a commit (in other words, saved your changes).

Since this is the first commit, you can use the following command to add every file in the folder:

git add

You can now commit your changes. The following command will commit all files in the index and include a message to help you keep your versions organized:

git commit -m "The first commit"

You have now finished configuring your local repository! That means it’s time to turn your attention towards GitHub.

Step 4: Register a GitHub Account

At this point, you’ll want to create a GitHub account. Start by accessing the GitHub homepage and filling in the registration form:

The signup form for Github

The interactive signup form will prompt you to enter a password and username and confirm your email address. Then, you’ll be asked to choose how many team members will be working with you and whether you’re a student or a teacher:

Signing up for GitHub

After that, you’ll be asked which features you’re interested in using. We recommend selecting Collaborative coding at a minimum:

The GitHub signup process

Now you can choose the free plan by clicking on Continue for free:

Selecting the GitHub free plan

You’ll then be taken directly to your GitHub dashboard. If you want to know more about the basics of using GitHub, we recommend taking some time to read the aforementioned guide. For now, however, we’re going to create a repository.

Step 5: Create a Repository on GitHub

You’re finally ready to create the GitHub repository for your project. This is a fairly simple process and only requires you to configure a few settings. Let’s start from the top.

To get started, click on Create repository in your dashboard:

Create a new repository with GitHub

First, you can select the repository’s owner, which is effectively the admin for the repository. This should already be set to yourself, so you can leave it as-is:

Next, you’ll need to give your repository a descriptive and concise name. You may want to name it after the plugin, theme, or other project you’ll be working on.

After that, you can enter a description of the project. Again, this should be specific and descriptive so that other developers and users can understand what it is you’re creating.

Since you signed up for a free account, you will only be able to create a public repository (although that’s all you’ll need right now). You’ll also be given the option to immediately clone the repository to your computer using a README file. Since you already have a local repository in place, you shouldn’t select this option now. However, it can be a handy tool for future projects.

Finally, you’ll see two drop-down menus at the bottom of this screen. The first enables you to select a gitignore option if you want Git to ignore certain files from being tracked.

The second option lets you choose a license for your repository. When you’re creating a real project, it’s important that you carefully consider what license to use. WordPress has very specific rules about licenses, which you’ll need to be aware of when developing for the platform.

For now, you can simply choose None from that menu and then click on Create repository to finish setting things up:

This will take you to your new project, which means it’s time to add your theme.

Step 6: Commit Your Project to GitHub

You can now push your theme to GitHub. Enter the following command into Git, making sure to replace the URL with a link to the repository you just set up:

git remote add origin https://github.com/yourusername/my-git-theme.git

git push -u origin master

You will then be prompted to enter your GitHub username, followed by your password. When you have done that, all the files you have committed to your local repository will be pushed to your GitHub project:

If you return to your GitHub repository, you will see that all files have been added to it.

Step 7: Fetch Updates from GitHub to Your Local Repository

You now have two repositories set up, and you know how to push changes from your local machine to the GitHub project. The final step is to flip this process and learn how to pull data from GitHub to your local installation.

If you’re working alone on a project, you’ll rarely need to worry about doing this. However, it becomes necessary if other developers are pushing their changes into the external repository as well.

You can do this easily by using the fetch command. Simply enter this command into Git, replacing the URL with the correct one for your GitHub project:

git fetch https://github.com/yourusername/my-git-theme.git

This command will pull all changes from GitHub and copy them over. Your local repository will now be synced up with your GitHub repository.

With that done, you have successfully created a new GitHub project for a WordPress theme! At this point, feel free to continue experimenting with these tools to see what you can accomplish.

Get Started With WordPress Development Using GitHub

Using GitHub for WordPress development grants you absolute power over every aspect of your projects. By using Git’s powerful version control features, you’ll get access to each change, enabling you to easily revert to earlier versions of your files. Git and GitHub also make it easy for multiple developers to collaborate on the same project.

To start using GitHub for WordPress development, you’ll simply need to create a local WordPress environment, install Git, and sign up for GitHub. Then, you can create a local repository for your project and make a GitHub repository. Finally, you’ll need to commit your project to GitHub and fetch updates to your local repository.

Are you looking for a WordPress hosting provider with developer-friendly features? At Dreamhost, we offer advanced features like SFTP, SSH access, easy access to the command line, and more. Check out our DreamPress plans for more information!

Do More with DreamPress

DreamPress Plus and Pro users get access to Jetpack Professional (and 200+ premium themes) at no added cost!

Managed WordPress Hosting - DreamPress

The post How to Use GitHub for WordPress Development appeared first on Website Guides, Tips & Knowledge.


source https://www.dreamhost.com/blog/how-to-use-wp-with-github/

Friday, 11 November 2022

How to Create a Winning Social Media Strategy (A Comprehensive Guide)

Social media can help you reach new audiences, promote your content, and ultimately grow your brand or business. However, it isn’t as simple as just posting links to your blog posts across Facebook and Instagram. To succeed on social media, you’ll need to create a detailed strategy and establish a plan of attack.

The good news is that you can begin your social media marketing journey by following a few best practices. Plus, there are plenty of third-party tools that can help streamline the process of publishing content and fostering social engagement.

In this guide, we’ll explore the characteristics of a social media strategy and why it’s so vital to your business. Then, we’ll explain how to create a winning social media plan, with tips and tools to help you along the way. Let’s get started!

Why You Need a Social Media Strategy

A social media marketing strategy is an overarching plan for how you will create content, share it on social platforms, and engage with your audience. It covers every step of the process, from performing market research to posting content and evaluating your results.

Without a clear strategy, you’ll likely struggle to see results. Randomly posting links to your blog posts is unlikely to truly engage your audience and attract them to your website. Plus, if you don’t have clear social media goals in mind, you won’t know if your efforts are paying off.

With that in mind, let’s examine some key benefits of using social media to engage with your followers.

Increase Your Reach

You probably already know how popular social media is. As of July 2022, approximately 59% of people worldwide use social platforms. That’s around 4.7 billion users, and the numbers keep growing!

Plus, the average person uses social media for almost 2.5 hours every day:

An infographic of social media statistics from DataReportal

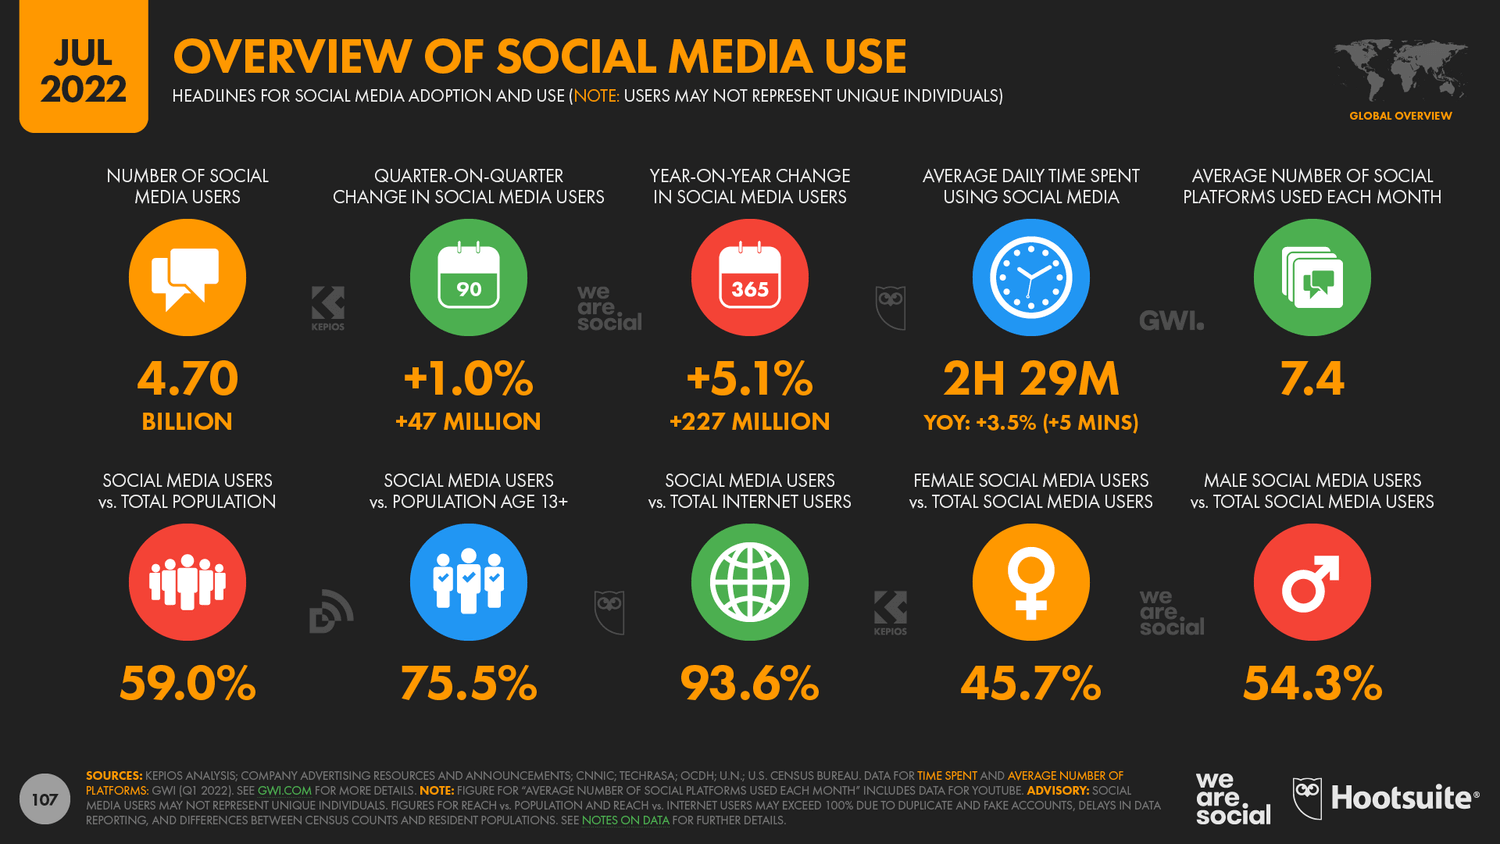
Image source: DataReportal

The statistics are even more encouraging if you’re paying for ads on social networks. Advertisements for Youtube and Instagram have a potential reach of 2.4 billion and 1.4 billion, respectively.

As you can see, social media offers a great opportunity to get your business’ name out there and display your content in front of fresh eyes. You just need to choose the right platforms for your blog!

Build Brand Awareness

Brand awareness is simply how familiar people are with your brand, as well as with your products and/or services. It’s a step beyond brand recognition because it measures the extent to which the public can recall specific information and impressions of your company.

Twitter is especially helpful on this front. Many brands have become well-known through their personas on this platform.

Consider Wendy’s, for example. This brand is known on social media for its witty tweets and sarcastic responses:

Wendy’s on Twitter

Increasing your brand awareness is the key to gaining leads and retaining current customers. If your products or services are the first that come to people’s minds when they need something you can provide, they’re more likely to choose you over your competitors.

While Twitter provides ample opportunities to refine your brand identity and build awareness, posting across multiple networks is ideal. This will help you reach various demographics and expand your audience more quickly.

Establish Authority Online

Since consumers have access to so much information via the internet, becoming an authority in your industry is crucial for driving conversions. Shoppers want to feel confident that they’re purchasing quality products. Proving that you know what you’re talking about is one way to reassure them that your brand provides the most bang for their buck.

The best route for accomplishing this will depend somewhat on your target audience. For example, LinkedIn commands a certain amount of authority by default because it’s a network for professionals to connect.

Publishing articles on LinkedIn is a prime opportunity for your brand to demonstrate extensive knowledge of subjects relevant to your industry:

An example of building authority on LinkedIn

However, this is only helpful if your target audience tends to be highly active on LinkedIn. Another option is to share articles related to your brand or industry on Facebook. It’s still the most popular social media site and is better suited to posting long-form content than Twitter or Instagram.

Boost Engagement

Engagement — loosely defined as any direct interaction between consumers and your brand — can help boost your business’ success in various ways. It increases brand awareness, solidifies customer loyalty, and can even improve your overall visibility online.

Social media is an ideal venue for engagement. For starters, it provides a variety of ways for users to interact with your brand, including:

  • Following your accounts
  • Commenting on your posts
  • Re-posting your content
  • “Liking” or “reacting to” your content
  • Using branded hashtags

Several of these modes of engagement are highly interactive, too, allowing you to respond to users’ comments or posts and drive further brand exposure and awareness:

An example of an engaging Twitter post from Oreo

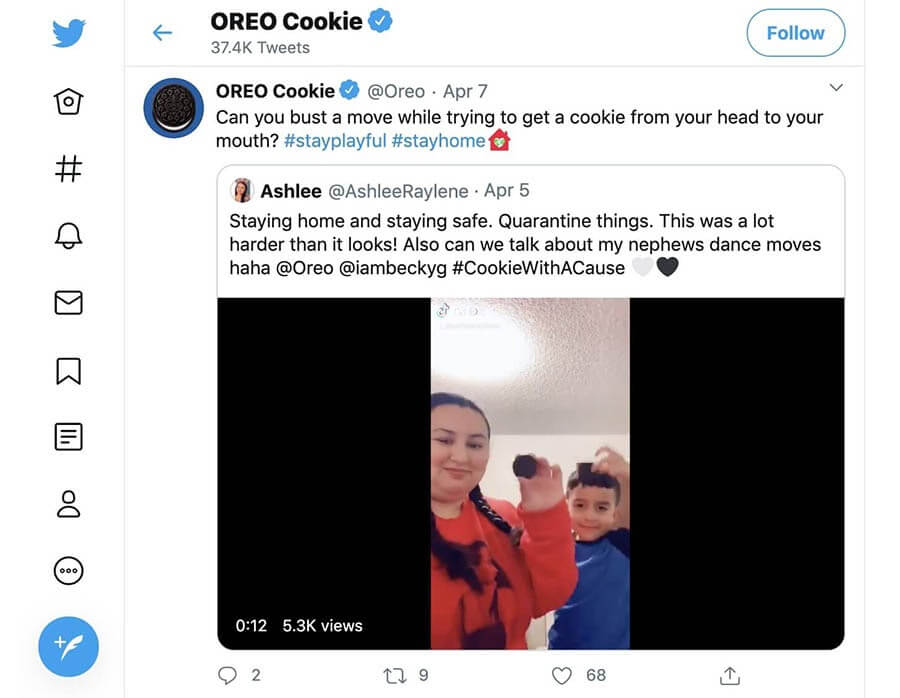
Additionally, social media engagement is usually public and, therefore, can help your brand by providing word-of-mouth marketing. Users may incorporate branded hashtags or even post about products they love to promote your company of their own volition:

An example of word-of-mouth marketing on Instagram

Responding to posts like these can instill more loyalty to your brand on the part of your supporters.

Provide Customer Support

Customer support is integral to helping your buyers have a positive experience with your products and/or services. What’s more, it is also essential for building brand loyalty. Prompt and thorough responses to customer problems or complaints demonstrate that you value their business and encourage them to purchase from you again.

While there are many ways to provide customer service, social media is a simple way for people to get in touch with you fast. Some may find messaging or simply tagging your brand in a post more straightforward than navigating your knowledge base, chatting with a bot, or tracking down your contact information and waiting for a response.

In some ways, social media support is a chance to improve your image further. Publicly responding to customers can showcase your attentiveness and timely service (although it’s wise to take the conversation private after an initial response to keep customer information safe).

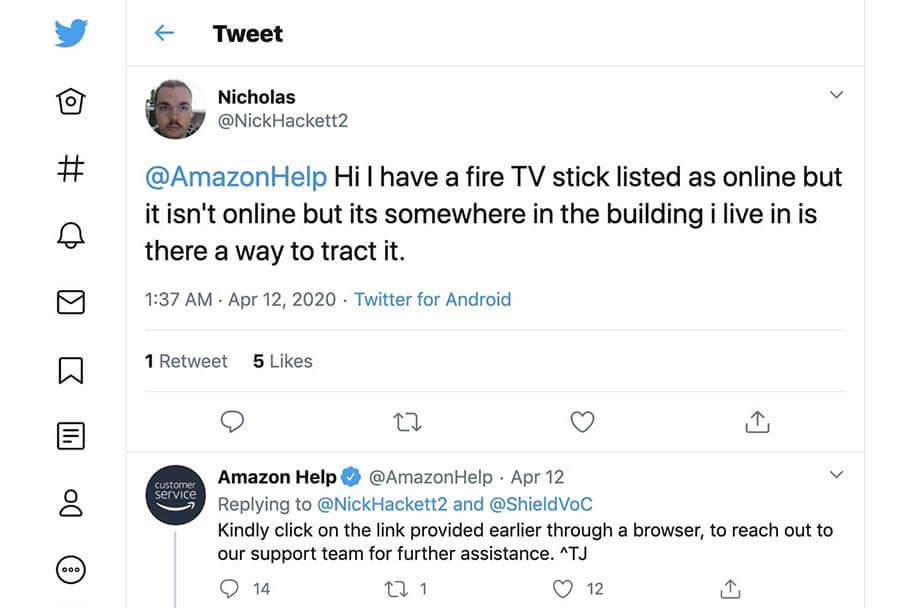
Amazon is particularly well known for its Twitter support account. By dedicating an entire profile to helping customers, it can deliver answers to users’ questions quickly. For instance, this particular response was given nine minutes after the customer’s initial tweet:

An example of customer support on social media.

Your brand may not be large enough to warrant a separate account for your support team. However, it’s wise to devise a system for tracking support messages and ensuring that someone responds to them promptly. Later in this post, we’ll explore some tools that can help you automate this process.

How to Create a Winning Social Media Strategy (In 9 Steps)

By now, you should hopefully understand why creating a social media strategy can benefit your brand. So, let’s look at how to create an effective plan in nine easy steps!

Step 1: Learn More About Your Audience

The first step in creating a social media marketing plan is getting to know your target audience.  This means identifying your users’ demographics, interests, desires, and problems, so you can develop content that meets their needs.

Creating generic social media posts might seem like a decent approach because you won’t alienate anyone. However, you’re unlikely to fully capture the attention of those who are most likely to engage with your brand or purchase your products.

You can start by researching your target market and creating a customer profile (if you don’t already have one). You’ll want to identify their age, location, profession, preferred social media platform, and pain points.

When identifying your target audience, we also recommend keeping in mind the “four Ps” of marketing:

  • Product: How is your product different from the competition, and which unique problems can it solve?
  • Price: What price is too high or low for your target market?
  • Place: Where does your target market shop?
  • Promotion: Which marketing strategies will be most effective for your ideal customer?

A social media tool such as Audiense can help you build a high-quality customer profile. It uses social intelligence to help you learn more about your audience, what they’re looking for, and how to appeal to them.

Get Content Delivered Straight to Your Inbox

Subscribe to our blog and receive great content just like this delivered straight to your inbox.

Step 2: Investigate the Competition

It’s also worth researching what similar companies are doing on social media. While we don’t advocate copying another brand’s approach, there’s almost always something to learn from your competitors.

You can start by looking up other brands on different social media platforms. Here you can evaluate metrics such as:

  • How frequently they post
  • What kind of content they post
  • How much they engage with followers through comments, retweets, etc
  • How many followers they have, and how many accounts they follow
  • If they work with influencers (and which ones)

It could be worth jotting down this information to have a general baseline for your social media marketing strategy. You can then adapt your approach according to the metrics and goals you identify in the next few steps.

Step 3: Learn About Metrics

If you use an analytics tool for your website, then you should already be familiar with standard metrics such as hits, click-through and conversion rates, and more. When you shift your focus over to social media, a lot of the same metrics still apply.

For example, you will pay close attention to click-through rates from social media platforms to your website. However, some metrics are unique to social media, and you’ll need to know what they are so you can set practical goals.

Some of those metrics include:

  • Likes, comments, retweets, and other engagement measures. On social media, you measure engagement using metrics such as likes, comments, shares, retweets, and more. The specific metrics available vary from platform to platform.
  • Post engagement. The percentage of people who engage with your posts as compared to overall impressions (views) determines your engagement rate.
  • Mentions. When other social media accounts mention you, this can work as a referral and convey trust from one brand to another.
  • Reach. Some platforms give you an idea of how many people your posts can reach, which varies depending on your follower count.

Social media platforms understand the value they provide to businesses. That’s why most of the big names in social media include built-in analytics tools out of the box, so you can measure individual metrics without third-party tools.

Twitter, for example, enables any account to access analytics data:

An example of social media analytics.

On other platforms, such as Instagram and Pinterest, you’ll need business accounts to access their metrics (or “Insights,” as Instagram calls them). Fortunately, these accounts are generally free to create.

If you want, there are also a lot of third-party tools that enable you to access more in-depth analytics and peruse data from multiple platforms. We’ll talk about tools later on — for now, let’s explore how to choose the best social platform(s) for your strategy.

Step 4: Choose Your Social Platforms

It might feel tempting to target every social media platform so that you can reach as many people as possible. However, this approach can quickly become overwhelming, unless you have an enormous marketing team at your disposal. Plus, if you’re rushing to create content, then you’re likely compromising on quality.

Therefore, we recommend focusing your efforts on just a few social media platforms. The right sites for your business will depend on several factors, including:

  • The age of your target audience. If you’re aiming for a younger crowd, then TikTok could be the way to go, with the majority of its users aged under 24. By contrast, Facebook is more popular with people aged 25-34.
  • The gender of your target audience. If you’ve been running your blog or business for any substantial period, think about what a typical member of your tribe looks like. Male, female, non-binary? Then, think about where your customers and readers are hanging out online. For instance, women tend to hang out on Pinterest: 76% of its users are women.
  • The nature of your business (and its products). If your products are highly visual, such as clothing or home decor, it could be worth focusing your efforts on Instagram. Alternatively, YouTube could be an excellent option for demonstrating complex products, such as gadgets and software. You’ll need to consider which platform will best show off your items and incentivize users to click on your links.

Keep in mind that some social media platforms are linked. For instance, you can run simultaneous advertisements across Facebook and Instagram since they both belong to Meta.

Step 5: Set Specific Goals

Once you know where you want to focus your efforts and what metrics you care about, it’s time to set actionable goals. Using social media to “grow your website” is fine, but that’s not the kind of thing you can measure.

When it comes to marketing campaigns, the smart move is to set incremental goals that you can easily track to see how you’re progressing. You can do this by using the SMART framework (Specific, Measurable, Attainable, Relevant, and Time-Based):

SMART goals

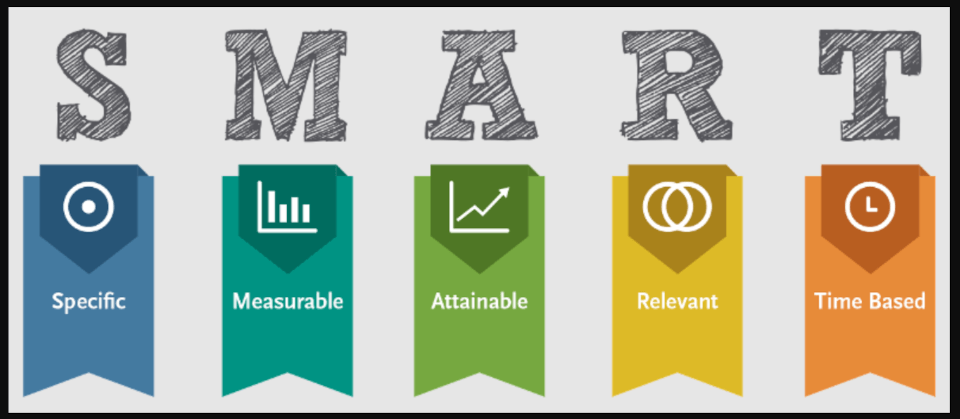
Image source: Wikimedia Commons

Let’s say, for example, that you decide to focus on Facebook as the heart of your social media marketing efforts. Some of the different goals you might want to set include:

  • Aiming for a specific number of followers for your business page
  • Increasing your engagement rate to X percent
  • Publishing a set number of posts during a specific period
  • Increasing the click-through rate to your website by X percent

For most websites, the underlying marketing goal of social media is to get more traffic and conversions. That means you can either direct traffic back to your website or use social media to promote specific offers.

The approach you take will depend on what your endgame is. However, it’s necessary to set realistic and measurable goals. That way, you can look back on your progress after a few months and see whether your approach to meeting those goals is working.

Step 6: Create a Social Media Calendar

By now, you should have a good idea of which platforms you’re going to use in your social media strategy and the goals you’re aiming for. However, before creating your content, it’s worth setting up a social media content calendar.

During this step, you’ll want to decide how frequently you’ll post on each platform. You’ll also need to determine what time of day is most likely to generate engagement from your target audience.

Posting too frequently could annoy your followers, whereas not publishing enough content means your brand could get buried in newsfeeds. Overall, studies suggest that posting just once or twice per day hits the sweet spot.

Furthermore, many marketers report that posting between 6 and 9 PM on Fridays and Saturdays yields the highest engagement. This is consistent across various platforms, including Facebook, Instagram, and Twitter.

You can use a content scheduling tool such as CoSchedule to plan your social media posts:

The CoSchedule content scheduling tool.

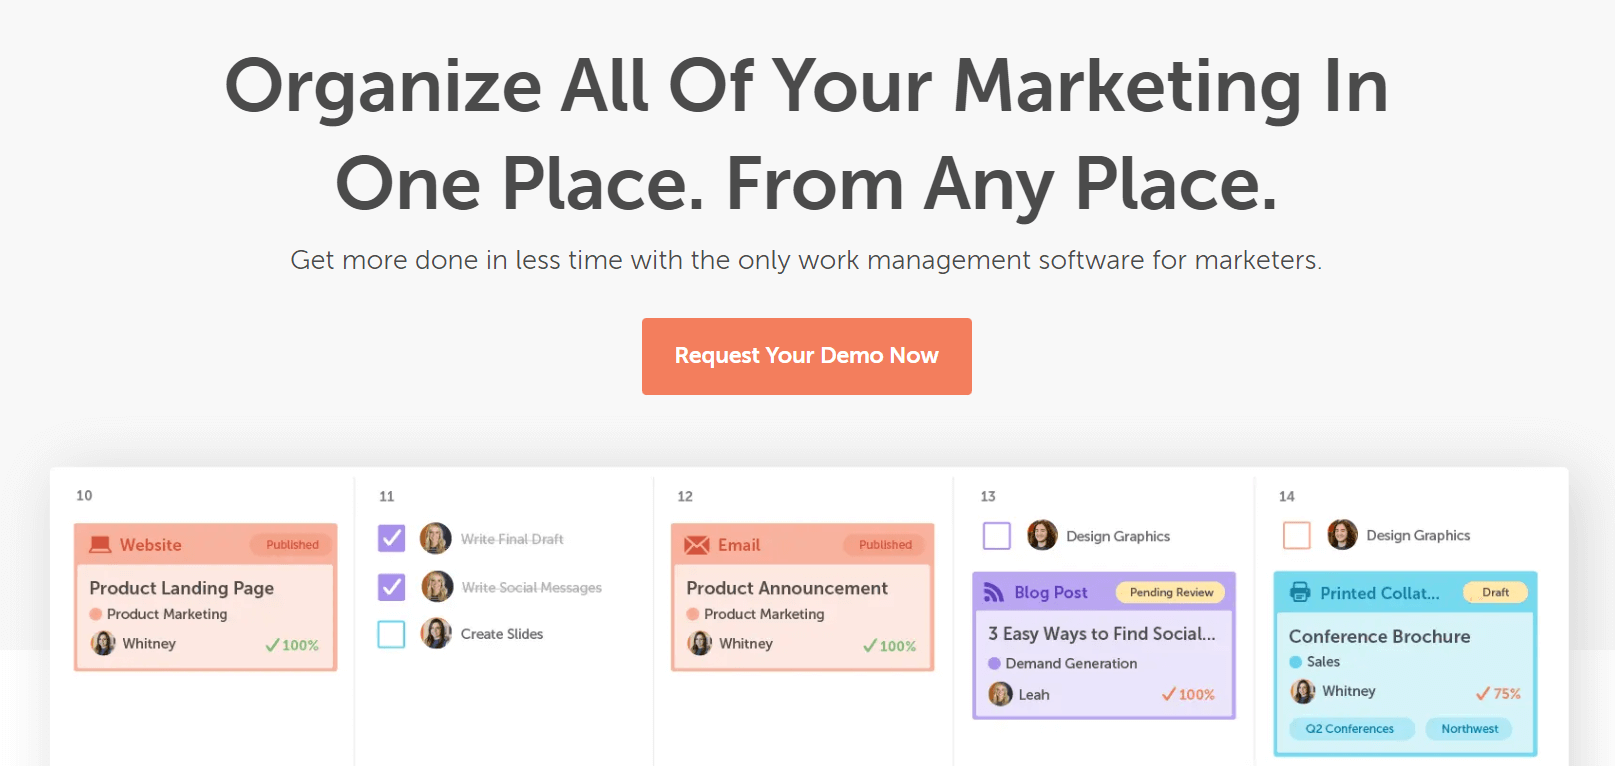
CoSchedule uses a visual layout so that you can easily organize your marketing materials. It can also automate your posting schedule and keep creative assets on file to speed up your workflow.

Step 7: Create Engaging Content

So far, we’ve talked a lot about planning and the tools you can use to make your life easier. However, whether you’re growing a website or a social media presence, what matters most is the content you publish.

You can have a rock-solid strategy based on data and an impressive array of measurable, achievable goals. However, if you don’t publish engaging content regularly, your social media presence isn’t likely to grow.

Your mission, therefore, is to create and curate content that your audience cares about. Fortunately, content marketing and creation is something you already have experience in if you’ve been running your website for a while.

However, social media is all about easily-digestible content: images, short videos, on-the-mark tweets, and more.

An example of highly visual content on social media.

Regardless of the content medium you choose, it’s all about quality. This means taking high-definition photos and videos, writing engaging (and accurate) copy, and editing everything before publishing. You’ll also want to try telling a story with your content so that you can make a lasting impression on readers.

Additionally, hashtags can help increase your reach, particularly on Instagram, Twitter, and LinkedIn. You’ll want to start by exploring popular and trending hashtags within your niche. Then, you can tailor your content accordingly.  You may also want to include your company name as a hashtag so that users can find you easily.

Step 8: Engage With Your Audience

Publishing content on social media isn’t a “set and forget” approach. Simply posting content is unlikely to deliver the engagement and results you’re looking for. Instead, we recommend dedicating time to engaging with your followers.

This engagement can take various forms, such as:

  • Responding to comments
  • “Liking” or reacting to comments
  • Sharing content from your followers and customers

For instance, the fashion brand Zappos frequently uses Twitter to answer customer questions and respond to feedback:

An example of a brand engaging with followers on social media.

Engaging with your followers shows them that you care about their feedback and opinions. This can foster better brand loyalty and even encourage customer testimonials.

You don’t need to like or respond to every single comment or tweet on social media. However, making an effort to do this for an hour or so every day can make a big difference.

Step 9: Track Your Results and Adjust Your Strategy

Since you’re working towards very specific goals, it makes sense to pause from time to time and see if what you’re doing is working.

Let’s say, for example, that your goal is to increase your Instagram following to 10,000 within a three-month period. To get there, you’ve been publishing new content with a focus on infographics:

Infographics on social media.

At the end of those three months, if you hit your goal, then you’ll know you’re doing something right. That means you can double down on the strategy you’ve been using by increasing your posting frequency, spending more time and money on better infographics, and so on.

If you didn’t hit your goal, it could be due to any of the following reasons:

  • The type of content you’re publishing doesn’t resonate with your audience.
  • You haven’t been using hashtags effectively to expand your content’s reach.
  • You’ve been posting at the wrong times, which caps your potential reach.

At this point, it wouldn’t make much sense to double down on the same strategy. That means you can either a) try a different content strategy or b) switch gears when it comes to the times you post and the hashtags you use. You could also try something new entirely, such as using influencer marketing.

In a nutshell, what you’re doing is running experiments in social media marketing. You’ll make a hypothesis and test it as thoroughly as possible. If it turns out to be false, then you return to the drawing board to brainstorm with your team. Failure is part of the process, so don’t get discouraged.

Outside of the built-in social media analytics tools, it could be worth using a third-party platform to analyze your success further. For instance, Agorapulse breaks down various key performance indicators, including customer engagement and audience growth. Plus, it uses one-click reporting to simplify the process.

4 Bonus Pro Tips

By now, you should have a general idea of how to develop your own social media strategy. Here are some tips to help you get the most out of your approach!

1. Link Everything

Users are unlikely to spend time digging around and looking for links to your content. Therefore, we recommend setting up accessible links between your social media content and your blog (and vice versa).

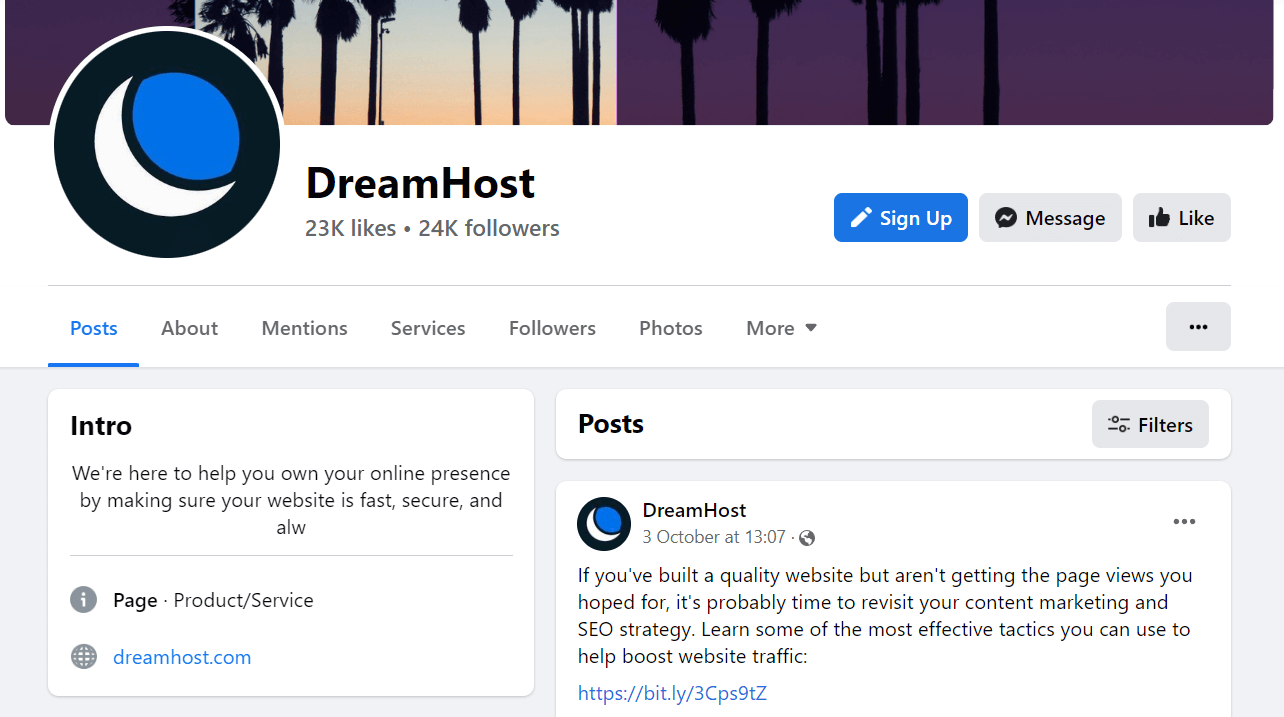
On your website, you can include social media icons that link directly to your profiles:

The Dreamhost website with visible social media icons

Many social media platforms enable you to link prominently to your blog or website within your profile:

The Dreamhost Facebook page with a link to its website

We also recommend including links directly to your blog posts and pages within your social media content. That way, users can navigate to your site with a single click. Here, you can use a link-shortening tool such as Bitly to create shorter and more attractive URLs for your posts.

2. Create Campaigns

You could create a long content schedule of engaging but separate posts across various social media channels. This approach could help you reach a wide audience and generate engagement.

However, why not take things one step further and create a campaign? This is a collection of curated posts that follow a specific theme. The campaign might even have its own hashtag:

An example of an Airbnb social media campaign

Campaigns can catch the momentum from popular movements or social issues. Additionally, creating a cohesive campaign can help cement your message and further communicate your brand’s core values.

As with all social media strategies, we recommend creating specific goals for your campaign. For instance, you might direct visitors toward one of your products or aim for more comments on your social channels.

3. Keep Up With the Trends

Creating original content can help your brand stand out from the crowd. That being said, following trends on social media is one of the best ways to show that you’re tuned in to the current moment. Furthermore, using trending hashtags can help you attract users who might not otherwise see your content.

This approach can work even better if the trends are directly related to your industry or niche:

An example of social media trends

You can easily identify trending hashtags on Twitter or TikTok by navigating to the Explore tab of each social platform. For other social networks, it can pay to use the sites frequently and see which themes pop up in the accounts you follow.

Additionally, exploring hashtags in your niche can help you connect with potential customers. Even if the hashtags aren’t trending, using them can make your content more visible to your target audience.

4. Use Your Brand Voice

Social media is, by its nature, more conversational than a traditional website. It enables you to speak directly to your followers and engage with them on a more personal level. That’s why it’s a good idea to zone in on your brand voice and use it to better connect with your audience.

For example, if you have a fashion or food blog, you can use humor and casual language to engage your audience:

An example of a brand using casual language on social media.

This approach, along with sharing memes and jokes, can be beneficial if your target customer belongs to a younger demographic.

However, if you work in a serious and professional industry, it’s worth maintaining a formal tone within your social media posts. After all, you’ll be targeting a completely different type of customer. Just keep your target audience in mind when you’re writing your copy, and that should reflect in your tone.

5 Time-Saving Social Media Tools

Creating and maintaining your social media marketing strategy can require a lot of time and effort. Fortunately, you can use some tools to streamline the process. Here are five of the best social media tools!

1. Revive Old Posts

Revive Old Posts

Creating fresh and relevant blog content is essential to your content marketing strategy, and it also provides you with plenty of posts to share on social media. However, with Revive Old Posts, you can get the most out of your older content, too.

Revive Old Posts can schedule your content on rotation and share it automatically to various networks. Furthermore, it can add optimized hashtags to your content to expand its reach.

Pricing: The core plugin is free. Revive Old Posts premium plans start at $75 per year.

2. BuzzSumo

BuzzSumo homepage

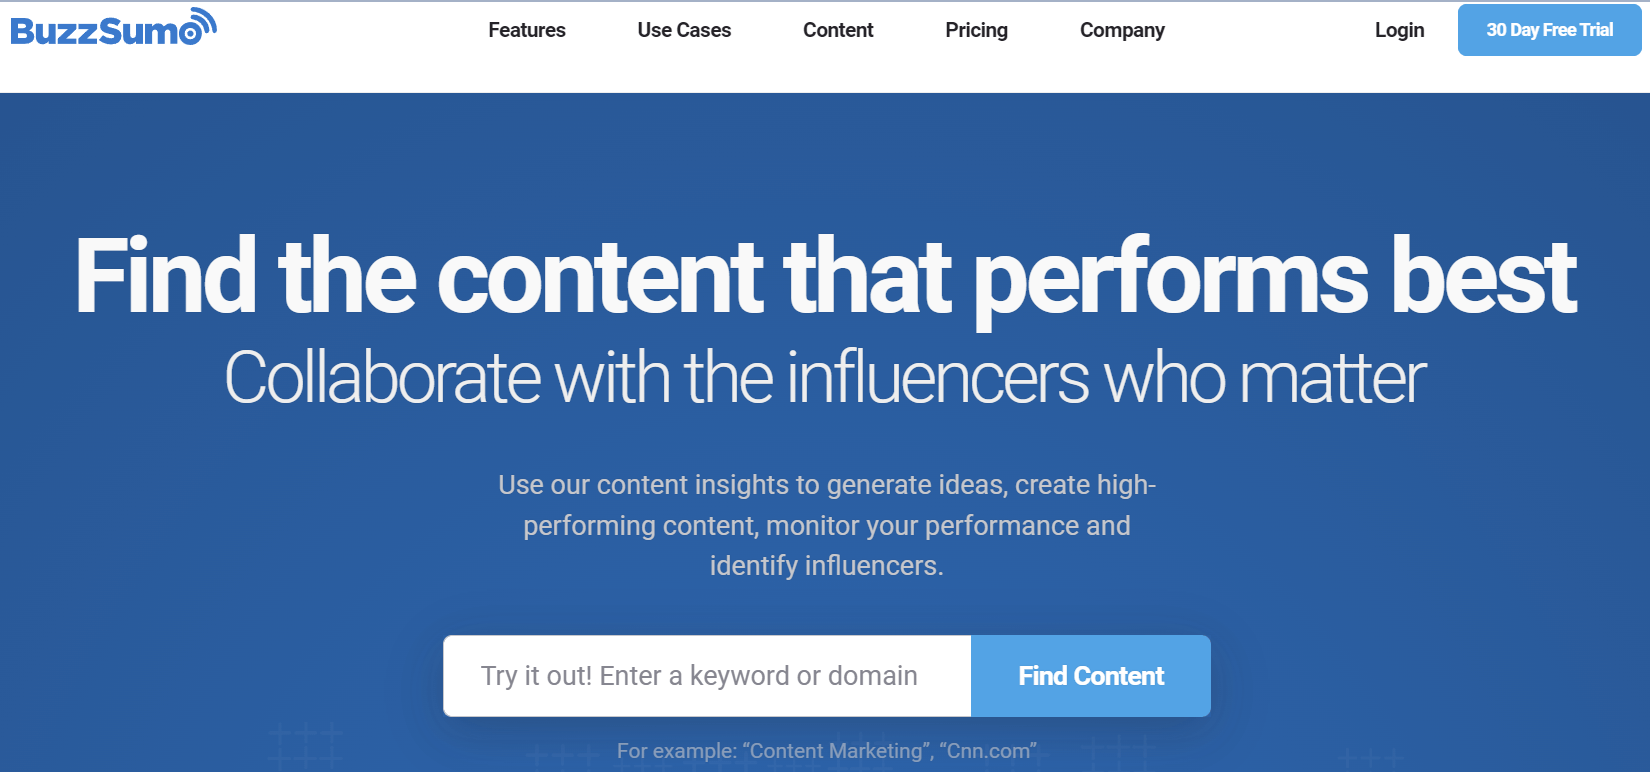
If you’re looking for new content ideas or insight into current trends, BuzzSumo could be the way to go. This all-in-one tool can help you with various parts of your social media marketing plan, from learning about your competitors to content research.

BuzzSumo is also an excellent monitoring tool since it tracks your brand mentions across the web and alerts you to any issues. Additionally, it can help you identify and connect with influencers in your niche.

Pricing: BuzzSumo has a free plan. Paid plans start at $99 per month.

3. Canva

The Canva website

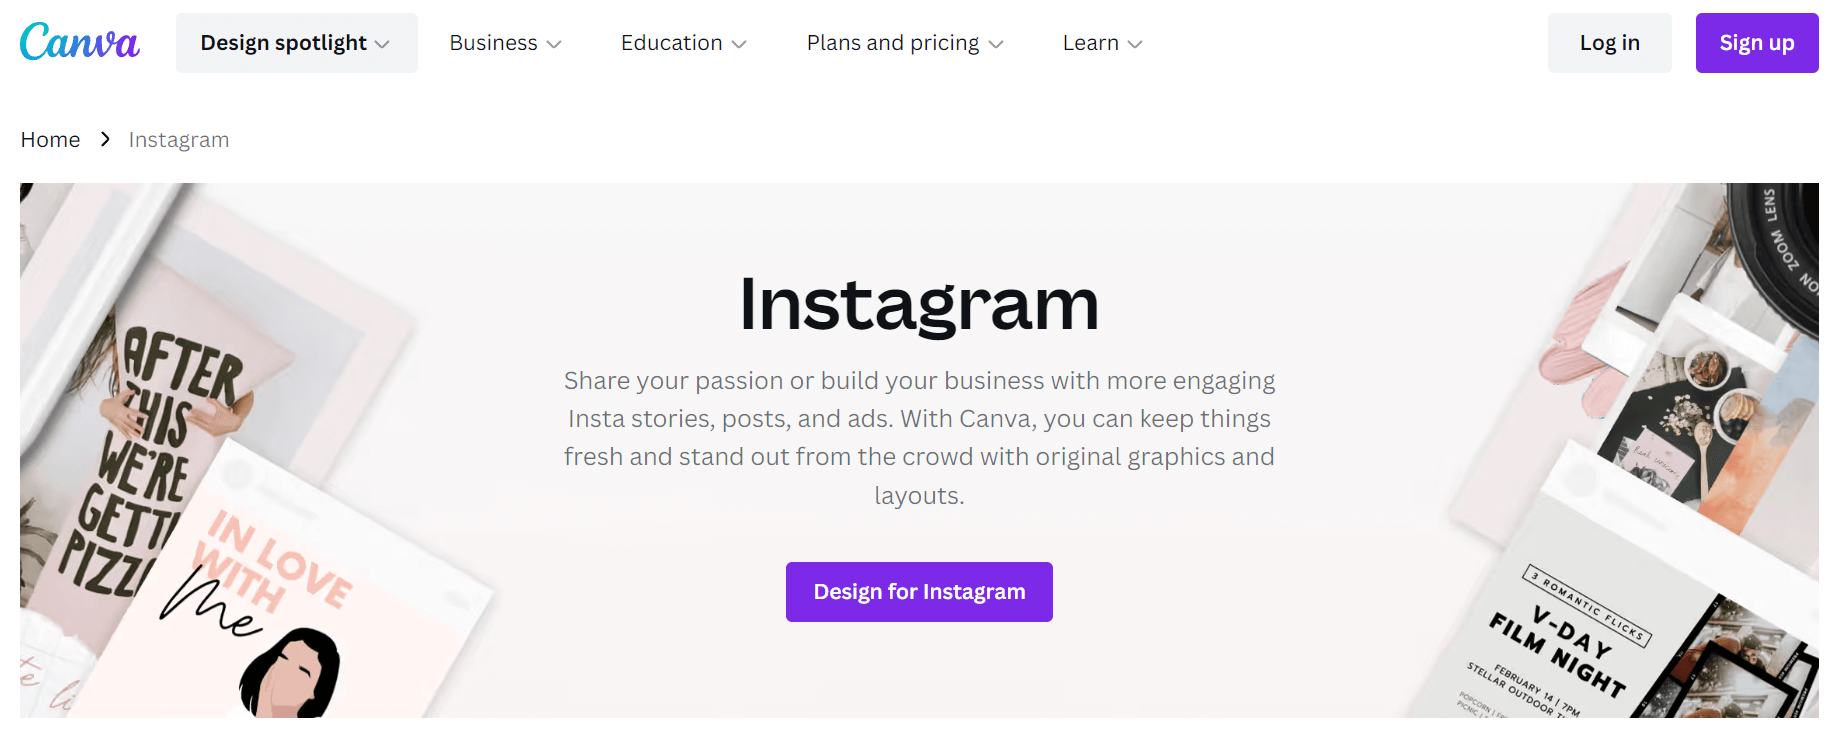
Part of social media success is having beautiful graphics in your content. With Canva, you can access a wealth of social media templates and design tools, including stock photography, color schemes, and layouts.

Canva comes with a drag-and-drop editor, so you can quickly put together attractive posts. It also includes social media guidelines for all the major platforms, helping you create more engaging content.

Pricing: Canva has a free plan. Paid plans start at $12.99 per month.

4. Brand24

Brand24 social monitoring tool

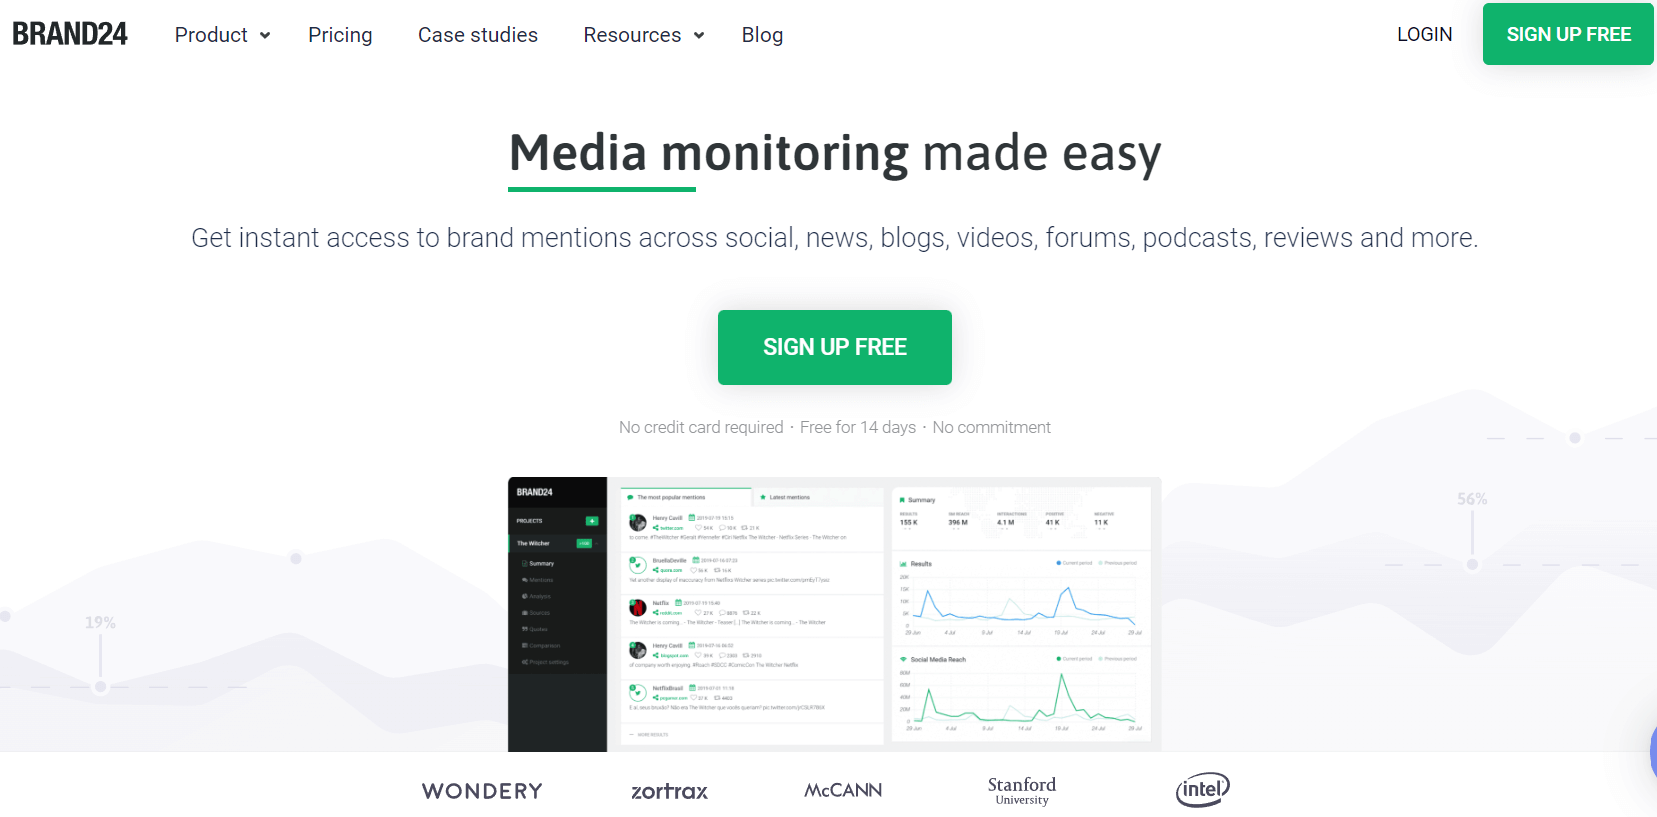
Keeping track of all your brand mentions across social networks can be highly time-consuming. Fortunately, Brand24 can automate the process and send updates when users talk about your company.

Brand24 can also calculate the “sentiment” surrounding your brand. This is how customers generally feel about your business, from positive to negative. Then, you can learn more about your audience and adjust your approach accordingly.

Pricing: Brand24 plans start at $39 per month.

5. Influential

Influential influencer marketing company

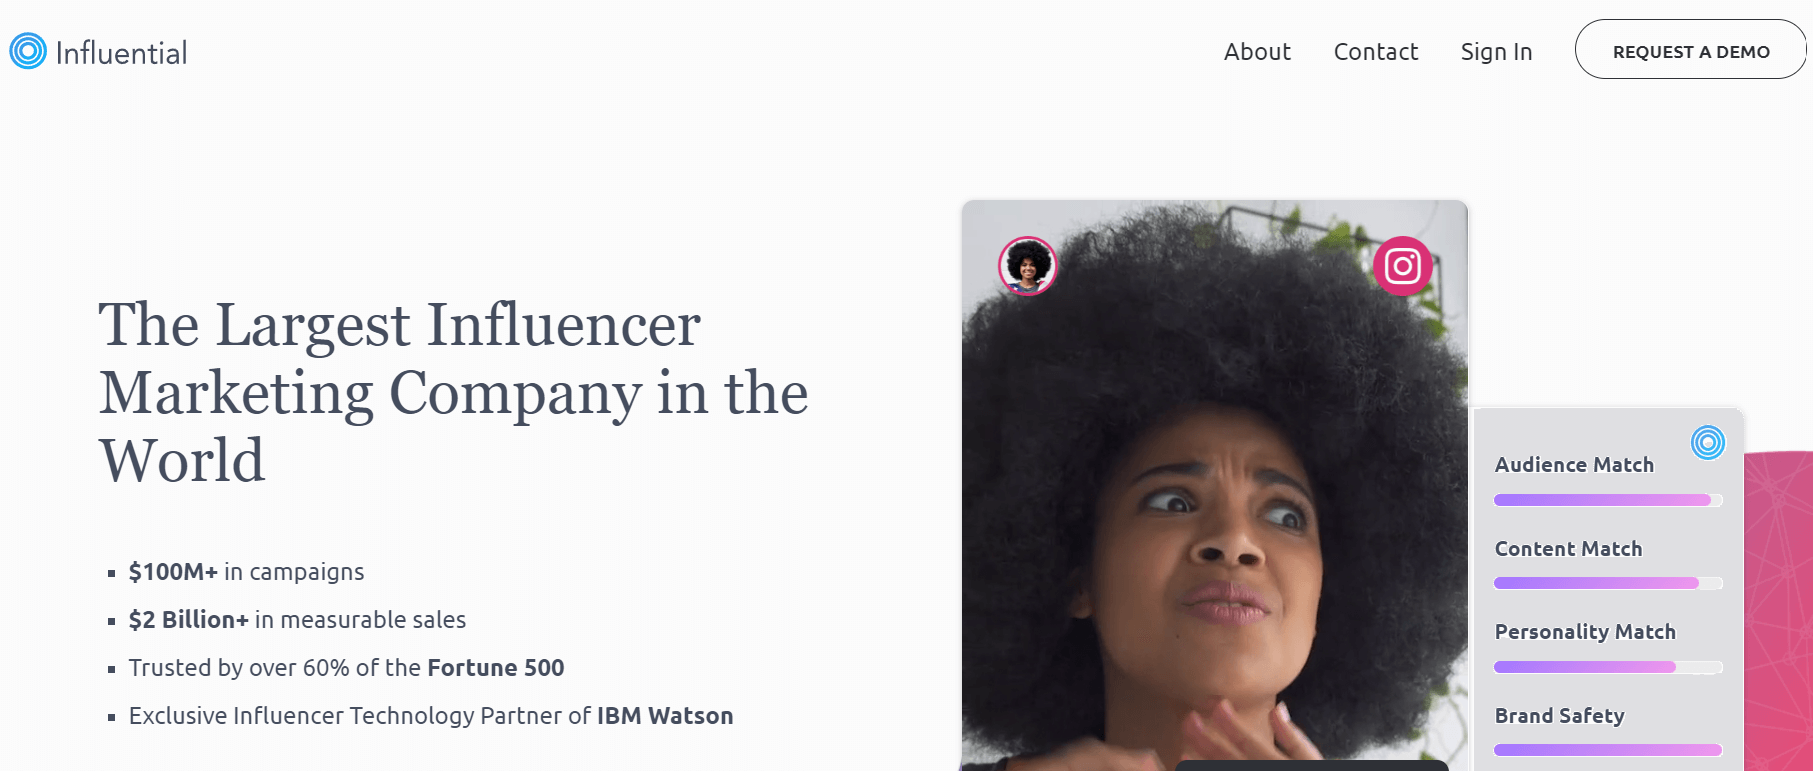
Working with influencers can increase your reach on social media and solidify your brand as a trusted authority. With Influential, you can easily find and connect with influencers within your niche.

Influential uses machine learning and transparent data to determine which influencers are most relevant to your business. Therefore, it can quickly streamline the process of finding social media stars.

Pricing: You can request a quote directly from Influential.

Expand Your Reach on Social Media

Social media platforms have billions of users who could potentially become your customers. However, you’ll need to create a plan if you want to succeed on social networks.

To create a winning social media strategy, you’ll first need to research your target audience and competitors. Setting goals and choosing social media platforms is the logical next step. Once you’ve spent some time creating your content and engaging with your audience, you can track your metrics to see if your approach is working.

Do you need a little help with your social media strategy? At Dreamhost, we offer Pro services for social media marketing. Our team of professionals can create engaging content for your brand, optimize your online profiles, and track your progress. Check out our plans today!

Get Social and Grow Your Business with DreamHost

Our experts will help create a powerful social media strategy and level up your execution so you can focus on running your business.

social media marketing

The post How to Create a Winning Social Media Strategy (A Comprehensive Guide) appeared first on Website Guides, Tips & Knowledge.


source https://www.dreamhost.com/blog/social-media-strategy-guide/

Wednesday, 9 November 2022

How to Write the Perfect Meta Description & Supercharge Your Organic Click-Through Rate

Strong Search Engine Optimization (SEO) fundamentals are essential if you want to get your content to be found organically in search engines. However, despite all of our efforts to cater to Google’s robots, we still need to ensure we’re paying special attention to the human element.

Fortunately, a well-written meta description can catch readers’ attention and convince them that your content will answer their questions, and is worth their time. In turn, it can increase your site’s organic click-through rate (CTR) and help tell Google your page is valuable.

In this post, we’ll introduce you to meta descriptions and their importance to your website. Then, we’ll share some important tips to help you write better meta descriptions and supercharge your organic CTR. Let’s get started!

An Introduction to Meta Descriptions

Meta descriptions are the snippets of text you see underneath the title within Search Engine Results Pages (SERPs), as seen the example below:

Meta description examples

The main goal of a good meta description is to give readers an idea of what the web page is all about. Naturally, titles also play a vital role here, but there’s only so much information you can fit into a single headline.

Meta descriptions provide up to a couple of sentences to expand on your page’s content. You can either write them yourself or have search engines generate them automatically based on your web page’s content.

As convenient as having search engines do the work for you might sound, we strongly recommend that you write your own meta descriptions. That way, you get full control over what shows up on the SERPs and social media sites while also increasing your chances of engaging users.

Let’s take a look at some meta description examples for a specific line of shoes. You can tell the meta description below was generated automatically, and it doesn’t give you much to go on:

An example of a poorly-written meta description

Here’s another result for the same product search, this one using a stronger meta description:

A meta description from Nike news

It’s important to understand that meta descriptions only give you a limited number of characters to play with. On desktops, that can be up to 160 characters, whereas mobile users will only see 120 of them. Roughly speaking, that means you get about two lines of text.

Why Meta Descriptions Are Important

SEO is all about relevance. In order to rank, you first need to produce high quality content designed to answer a specific question or cover a topic thoroughly and accurately. Beyond that, there are a whole bunch of SEO best practices, tips, and tricks that can help you rank better.

Some of these Google has put into a category their algorithm uses to help them rank content in Search, referred to as “ranking factors.” There are over 200, in fact. Various examples include keyword usage, meta data, media usage in content, backlinks, and engagement.

While meta descriptions themselves are not a “ranking factor” — in that they don’t directly influence the rankings of your pages — they can indirectly help you by encouraging real human searchers to click on your results, thus signaling higher user engagement and potentially influencing your search position.

What to Include in a Meta Description

Two lines of text isn’t much, but more often than not, it’s enough to cover a few key elements. Most often, this should include:

  1. What your page is about
  2. How it can benefit the reader

If a meta description is too vague, then you’re not selling users on the idea of visiting your website. You’ll probably still get clicks, of course, but not as many as you might have otherwise.

Let’s say, for example, that you wanted to write a meta description for this article you are reading right here. Here’s, maybe, a not-so-good example:

Have you ever wondered what meta descriptions are? Wonder no more, because we’ll tell you everything you need to know.

While it hits on the article’s primary topic, it doesn’t do a good job of previewing the page’s actual content. Now let’s give it another go, keeping in mind the fundamental elements we want to include:

Meta descriptions convey what your web page is all about and can indirectly influence rankings. Find out how to write the perfect meta description here.

This is short and to the point, and we even had enough characters left over to include a simple Call to Action (CTA). It may not win any literary awards, but it will get the job done.

How to Write the Perfect Meta Description (10 Key Tips)

At this point, you know the basics of what a meta description should include. Now here are 10 tips that will help you really knock your meta descriptions out of the park.

1. Use Relevant Keywords

If you’re reading this, you’re probably familiar with the concept of keywords. Ideally, you’ll use key phrases organically throughout all of your content, including in metadata such as your descriptions.

Let’s say, for example, that you’re writing a recipe and you want to optimize it for the search term “how to cook a healthy lasagna”. That’s an easy term to work into a meta description:

Learning how to cook a healthy lasagna is easier than you might imagine. Let’s go over a recipe you can cook in under two hours!

Including keywords within your meta descriptions is an SEO best practice. It gives search engines a better idea of what your content is all about.

However, as always, make sure to work those meta keywords in organically. That means not stuffing your descriptions full of keywords.

In fact, Google advises against using long lists of keywords in your meta descriptions. So, you’ll want to make sure your description still reads like something a human (not a bot) would write.

2. Consider Meta Description Character Count

So far, most of the examples we’ve shown you have come in well under the maximum character count for the major search engines. You want to get some mileage out of your meta descriptions. However, in practice, obsessing over the character count isn’t as serious as you might think.

To build on our earlier example of a healthy lasagna recipe, you could easily expand on its description to cover more information:

Learning how to cook a healthy lasagna is easier than you might imagine. For this recipe, we’re substituting meat with eggplants, which means it will cook faster and feed up to four people.

That example goes over the character limit for both desktop and mobile meta descriptions in Google. In practice, it would get cut off and look something like this:

Learning how to cook a healthy lasagna is easier than you might imagine. For this recipe, we’re substituting meat with eggplants, which means it will cook …

That snippet still provides plenty of information, so you don’t necessarily need to change it. What matters is that you include the essential details early on, so whatever does get cut off is just supplementary information.

You’ll also want to keep in mind that Google recommends against very short meta descriptions. Although it’s great to be concise, a one-sentence description is unlikely to contain enough information to make readers click through.

3. Create Unique Meta Descriptions

When it comes to meta descriptions, there are two kinds of potential duplicates. It’s good practice to avoid both of them:

  • Mimicking other sites’ descriptions
  • Having several of your pages use the same description

Overall, duplicate content is almost always bad news when it comes to SEO. Moreover, it can hurt your CTR if you have several pages competing for the same search terms. For this reason, Google recommends against repurposing the same meta description for different pages or posts.

For practical purposes, there’s no reason all of your pages shouldn’t have unique meta descriptions. If it takes you more than a few minutes to write one, then you’re probably overthinking it.

Get Content Delivered Straight to Your Inbox

Subscribe to our blog and receive great content just like this delivered straight to your inbox.

4. Write Compelling Copy

Most meta descriptions are pretty boring, at least linguistically speaking. The need to cover so much information in such a limited space doesn’t lend itself well to innovation.

One way to make your meta descriptions stand out is by using compelling language. To do that, take a look at what other websites are writing for the keywords you want to rank for. Let’s say, for example, that you’re looking for a cast iron pizza recipe.

A lot of the content will be similar, which means their meta descriptions will share elements as well. However, not all descriptions are equally effective:

Examples of pizza recipes in the search results

Some of our favorite hits from the above example include the words “crispy”, “buttery”, and “chewy”. There are five results here, but the first and last stand out due to their word choices.

Think about it this way — if you’re staring at that page trying to decide which recipe to follow, you’ll probably pick the one that sounds more delicious. At that stage, you don’t know how good the recipe will be, so your only indicators are the title tag, picture, and word choice in the meta description.

5. Be Specific and Concise

A vague meta description is unlikely to get many click-throughs. If a reader doesn’t know what to expect from the outset, there’s little motivation for them to spend the effort visiting your page and reading your content.

Although a meta description is short, you can pack details into it by being picky with your words. Using precise language can communicate the gist of your content without running over the character count.

Google provides this example of a highly specific meta description for a product page:

An example of a specific and detailed meta description

When writing a meta description for a blog post, you might include a quick summary of its headings so that readers have a detailed overview of the content:

An example of a meta description that uses a list format

Alternatively, you might summarize one of the key points from your article in your meta description. The exact approach will depend on the nature of your post and what information is most relevant to readers.

6. Make Your Meta Description Actionable

Simply writing a statement summary of your blog post can tell potential readers what it’s about. However, it could come across as generic and even boring if you don’t add a little excitement to your meta description.

You can address this by making your meta description actionable. This means prompting the reader to actually do something when they click on the headline and go to your article.

In the following meta description example, the website engages readers by encouraging them to “try these tips”, while also explaining the benefits of the article:

An example of a meta description with a call to action

Using a CTA in your meta description can catch a reader’s attention when they’re scanning the search engine results. It can also tell them a little more about what they should expect to learn from your content.

There are a couple of ways to make your meta description actionable. You can include a direct CTA at the end of it, like in the example above. Alternatively, you might use active voice throughout to excite the reader and incentivize them to click through:

An example of a meta description with active language

Both approaches are valid and can be effective for attracting readers to your site, so it’s a matter of preference. However, in all cases, we recommend staying away from passive language as much as possible.

7. Consider Your Target Audience

It’s also essential to consider your target audience when writing meta descriptions for your content. This is the group of people that typically read your blog or would benefit most from your content.

It might seem like writing a more generic meta description will ensure your content appeals to more people. However, this approach is often counterproductive. That’s because opting for a bland meta description means you might miss out on attracting readers who will better connect with your content.

One of the easiest ways to target your ideal audience is by thinking carefully about the tone of your meta description. For example, it could be a good idea to incorporate some humor and casual language if your target reader is Gen Z:

An example of a humorous meta description

Alternatively, a more serious and to-the-point description with formal language could be more appropriate if your content is targeted toward older professionals.

8. Appeal to Emotion

It’s also a good idea to appeal to emotion in your meta descriptions. This approach can involve targeting a positive emotion, such as a reader’s excitement, or a negative pain point, like fear or trepidation.

Targeting emotions within your meta descriptions can be highly effective because it plays on readers’ psychological triggers. In fact, studies show that most people make emotional decisions when choosing brands or buying products.

If you choose to target a positive emotion within your meta descriptions, consider using exciting words to make readers feel more invested in your content. Here’s an example:

Asking for a promotion can supercharge your career and earn your employer’s respect. Learn how to ask for and actually get a promotion!

The same approach can also work for negative emotions:

Are you worried about what will happen to your family after you pass away? Check out our life insurance policies and find the best plan for you!

In both scenarios, using a question at the start of the meta description can immediately tap into the reader’s state of mind. We’ll explore this a little more in the next tip.

9. Answer a Specific Question or Concern

Most people use search engines to answer a question they have in mind. You can see this in action with the People also ask section in Google search results:

The People also ask section in Google search results

Although there aren’t enough words in a meta description to answer a potential question, you can target search intent. This refers to the reason why a user is making a particular search online.

Targeting search intent can convince readers that your post won’t be a waste of their time. By immediately bringing up the reason they’re searching in the first place, you can assure readers that the rest of your content will provide value.

You can address search intent by posing a question within your meta description or outlining a concern the reader might have. For example, if you’re teaching readers how to create an online store, your meta description might look like this:

Are you looking to turn your passion into a business and make money online? Check out our complete guide to creating an online store!

Since search intent goes hand in hand with keyword research, you’ll want to consider it when planning and writing your post. Then, you can provide a concise and exciting invitation to keep reading within your meta description.

Supercharge Your Organic CTR with Strong Meta Descriptions

When you boil it down, SEO is very competitive. You’ll never be the only website within a niche, so you’ll need to look for ways to make your pages stand out in the SERPs. Fortunately, an informative and unique meta description is a great way to catch potential visitors’ eyes.

There are a few ways to write a perfect meta description. You can include keywords and leverage interesting language. We also recommend being as specific and detailed as possible, using emotional vocabulary and phrases that will appeal to your target audience.

Are you looking to maximize your reach and get new eyes on your site? Our Dreamhost SEO marketing services can help you optimize your existing content, create new posts for your website, and provide monthly reports to track your progress. Check out our SEO plans today!

Search Engine Optimization Made Easy

We take the guesswork (and actual work) out of growing your website traffic with SEO.

DreamHost custom website development services

The post How to Write the Perfect Meta Description & Supercharge Your Organic Click-Through Rate appeared first on Website Guides, Tips & Knowledge.


source https://www.dreamhost.com/blog/write-the-perfect-meta-description/

Creating and Mastering GA4 Explorations

In the switch from Universal Analytics (UA) to Google Analytics 4 (GA4) — which will go fully into effect July 2023 — a lot of things have...